|
|
VR Development Framework
v 1.0.0
|
|
|
VR Development Framework
v 1.0.0
|
This quickstart tutorial should acquaint you with most arc-vr features as well as familiarize you with the intended workflow.
You'll need to know the basics of working with Unity and C#. If you need a refresher, refer to the official Unity tutorials.
For this tutorial we'll be building a simple VR experiment/game where the user will draw colored spheres from an urn after guessing which color he will draw. We'll be targeting HTC Vive hardware and using the standard Unity rendering pipeline. Here's a brief demonstration of what we'll be building:
After reading, you should be able to:
The last two bullet points are optional, as they are intended for use in VR experiments/studies. If you're looking to build simple VR games, feel free to skip these.
If you prefer watching a video over reading text, here's the complete quickstart guide in video form:
As you might expect, our first step will be to create a new Unity project. The easiest way to go about this is to use Unity Hub. If you don't have already, download and install tha latest version of Unity Hub here.
Arc-vr is intended to be used with Unity 2020.3.21f . Using a different version may very well lead to errors or malfunctioning features. You can download Unity 2020.3.21f for the hub from the Unity download archive.
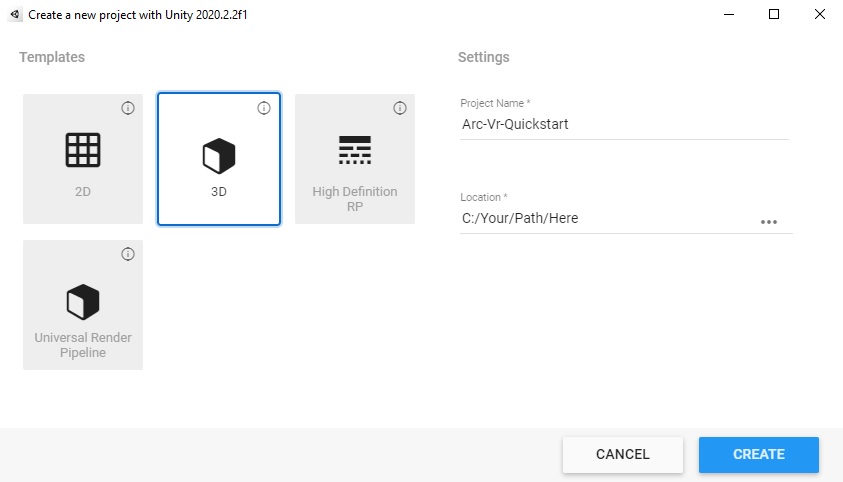
Once you've downloaded Unity 2020.3.21f , you should be able to create a new project with that version using Unity Hub. HDRP, SRP and URP are all fully supported by arc-vr, but for the purposes of this tutorial, we'll be using the Standard Rendering Pipeline (select '3D' from Templates).
With your new, blank Unity 2020.3.21f project open, we'll need to perform a couple of steps before importing arc-vr packages.
Time.fixedDeltaTime determines the frequency at which Unity conducts physics updates for rigidbodies. By default this is set to 0.02s (ie 50Hz). Since most HMDs have a refresh-rate of at least 90Hz, physics-interactions will appear jagged when a player grabs and moves objects (which we intend to do).
In order to fix this, we simply set the frequency of fixed updates to also be 90Hz. To do this, head on over to Edit > Project Settings and under Time > Fixed Timestep set it to 0.01111111.
Unfortunately, current native compatibility between SteamVR/OpenVR and Unity's XR Plugin Manager is a little lackluster. We'll be using OpenXR in order to enable HTC Vive hardware to be used with the XR Plugin Manager.
Import and install OpenXR into your project by following these steps:
Windows > Package Manager. Display all packages from the 'Unity Registry', then find and select 'OpenXR Plugin'. Click 'Install'.Edit > Project Settings, and select XR Plug-in Management. Enable the 'OpenXR' option.Finally, we're ready to import arc-vr into our project. The arc-vr framework consists of a series of mutually-agnostic packages which you are listed here. All of them are dependent on the central arc-vr-core package, which provides all fundamental VR functionalities.
Head on over to github release tab and download the .tgz of the arc-vr-core package.
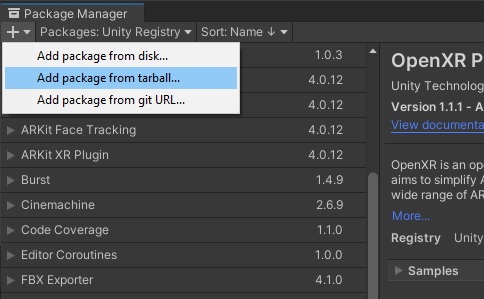
Once downloaded, open up the Unity Package Manager (Windows > Package Manager) and click the plus sign in the top left. Select 'Add package from tarball', browse to the downloaded '.tgz' file and select it. The Unity Package Manager should automatically import and install the package.
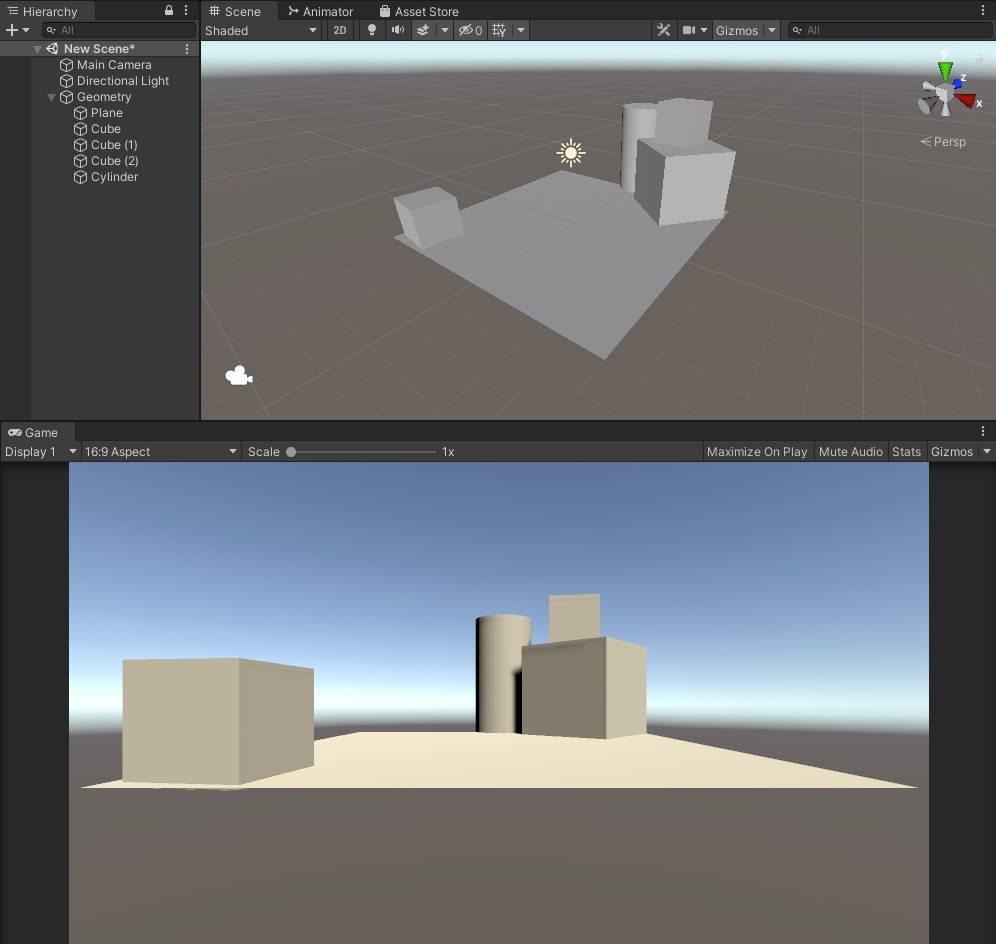
Just so we have something to look at, create a 3D plane in the center of the scene and add some geometry to it. Something like this will do just fine:
Let's take a quick look at arc-vr's in-built developer's console:
The menu bar of your Unity Editor should now have an additional 'AVR' option. Click on AVR > arc-vr to view a small arc-vr welcome window.
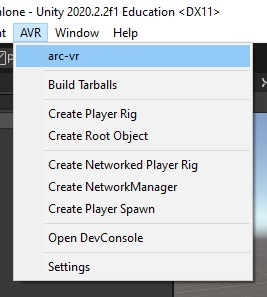
It should list the arc-vr packages you have installed (only arc-vr-core) and present you with 4 buttons. Click the 4th (the right-most one) to open an 'ARC-VR Console' window. Alternatively, you can also just click on AVR > Open DevConsole.
This developer's console is a useful tool which is fully available inside the Unity Editor but also during runtime. It can also allow you to make some on-the-fly changes during runtime, should you have to. Type, for instance, toggle Plane and press Enter. If you have an object called 'Plane' in your scene it should be toggled from active, to inactive. If you want to add commands of your own or get more familiar with this useful tool, take a look at the DevConsole documentation.
Continue in tutorial 2.

