|
|
VR Development Framework
v 1.0.0
|
|
|
VR Development Framework
v 1.0.0
|
Next up, we'll want to create a VR PlayerRig that represents the player (HMD + controllers) in our virtual space.
Creating a PlayeRig with arc-vr is easy. Simply click on AVR > Create Player Rig in the top menu bar. Alternatively, you can navigate to Packages/arc-vr-core/Editor/DefaultPrefabs and drag-&-drop a PlayerRig object into your scene.
The PlayerRig includes a Camera object tagged as MainCamera. In order to not get Unity confused, its best to only have one single Camera object tagged as the main camera. Thus, delete the default "MainCamera" GameObject from your scene.
If you now click on 'Play', you should be able to view your scene through your VR headset.
Project Settings > XR Plugin Management, or the scene won't launch in VR mode.We are now able to view our scene through our tracked HMD. As a next step, we ought to include the Vive controllers, representing the left and right hands of the player.
Adding left/right controllers to our PlayerRig is simple.
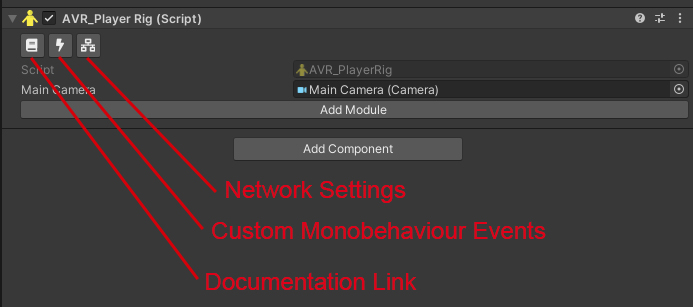
Your PlayerRig gameobject should now have three child objects: 'Camera Offset' (represents the HMD), as well as 'LeftHandController' and 'RightHandController' (represent the left/right controllers).
We now have two gameobjects that represent the tracked VR controllers. However, we can't see them in our virtual space, as they simply are empty transforms.
To add a rendered mesh to make our controller visible, individually select each controller gameobject and click on 'Add Module', tick 'ControllerVisual' and 'InputManager', then click Update.
If you launch the scene now, you should be able to see both controllers through your headset.
Continue in tutorial 3.

